
I felt like making an umbrella for my game because a) I was very tired and did not feel like something big or complex and b) Salzburg – which is the inspiration for our little world – is famous for its rainy days. So we will need those little brellies for sure.
For all my modelling I use Blender. I am very much a beginner so do not take anything I do as the way to do it or get grumpy with me if I do something wrong. Constructive feedback is always welcome though 😊.
Modelling
So first step as always when I have a random idea, I will see if there are any good YouTube tuts out there for what I want to do. Just to get some idea how to get even started.
I decided to give this approach a go:
https://youtu.be/5mwbWXVESy8
There were a couple changes I made though like changing these triangle ends on the handle part to something more edge loopy. This allows me to smooth them out a bit nicer.
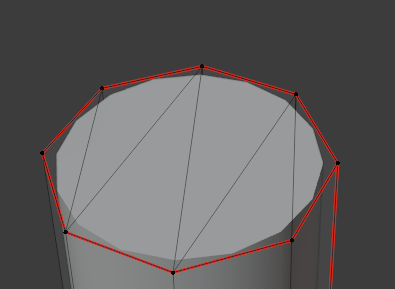

I also decided to give the top bit of the umbrella some thickness – this might bite me in the bum later and I made a version without thickness as well but for now I’ll go for that.
To do that I just applied a Solidify modifier.

UV Mapping
Then I did some quick UV Mapping cause we want to make these Umbrellas fancy after all!
Where to make seams is still some kind of magic to me but looking at the UV texture the results looked good enough, not too much stretching or cuts anywhere too visible.
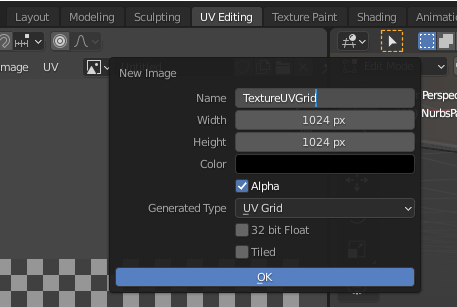
In case you do not know, you can easily let Blender create a UV grid for you just by creating a new Image.
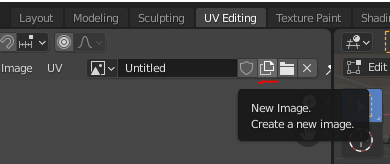
Select UV Grid instead of Blank and ideally you make the size of the texture a power of two.
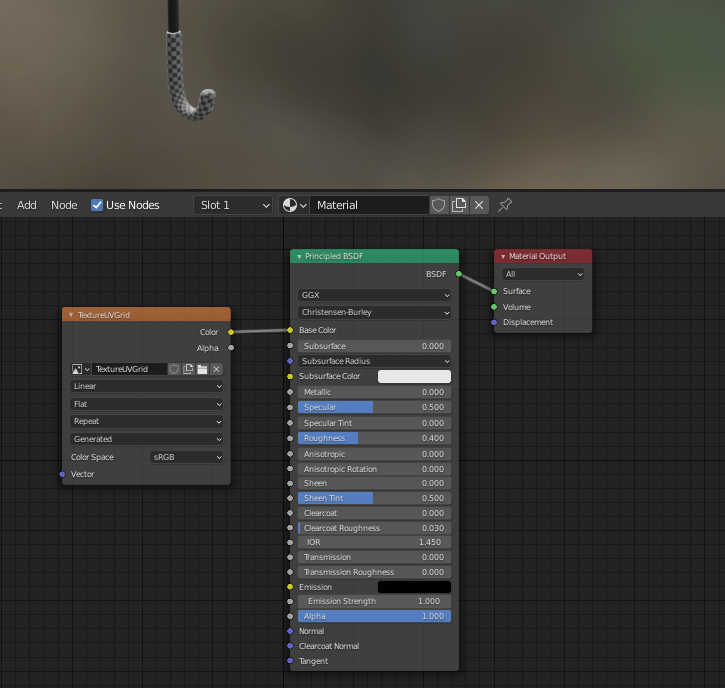
Then I just threw a simple Material together using the UVGrid as Image Input. Using the grid is really useful to see places where your future textures might stretch in a ugly manner or get cut by seams in unwanted locations.
Shading
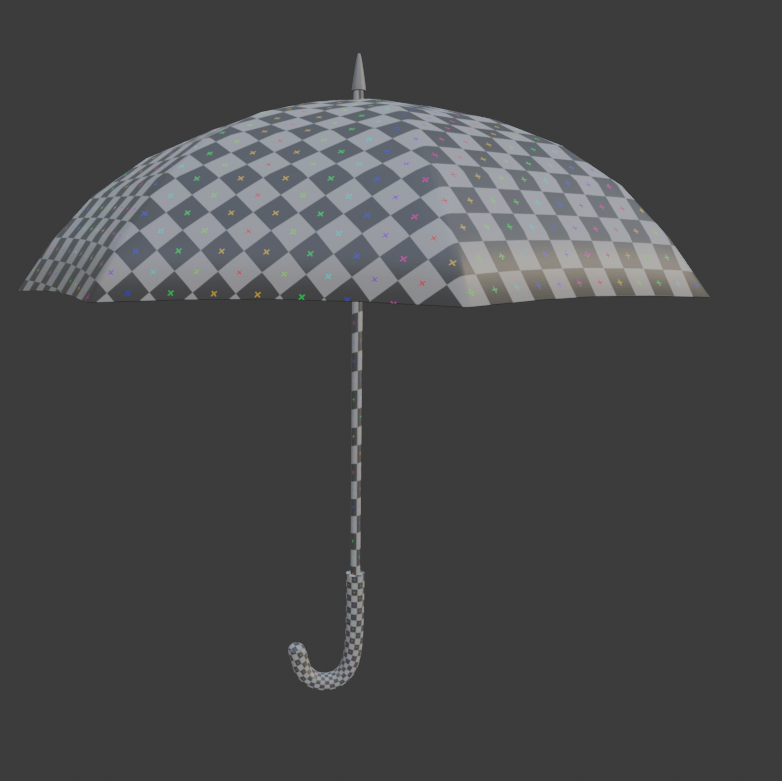
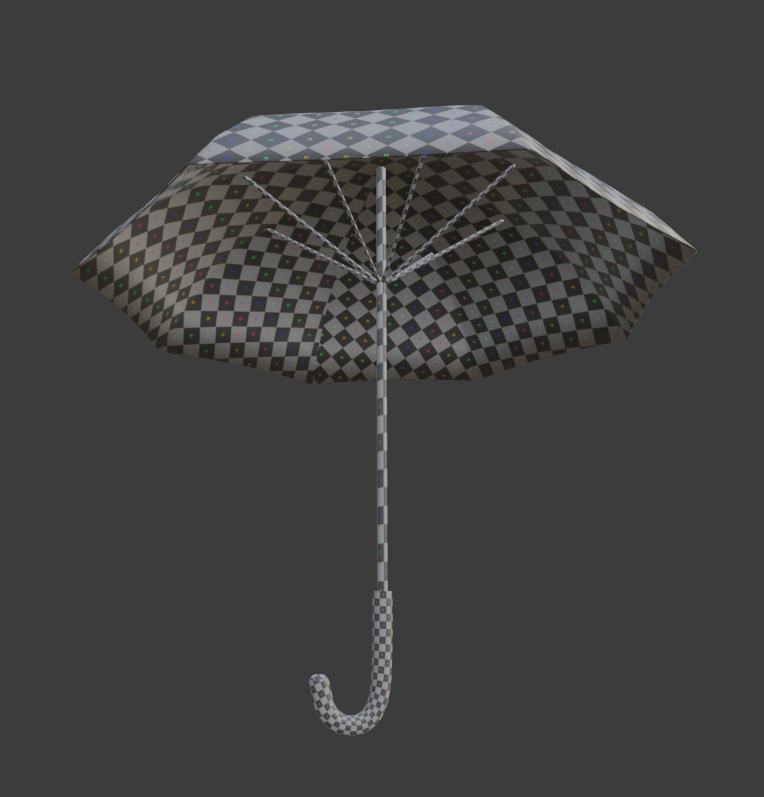
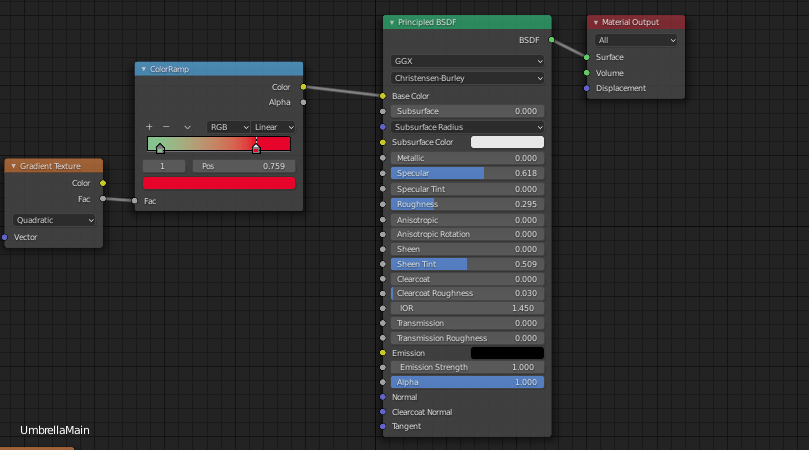
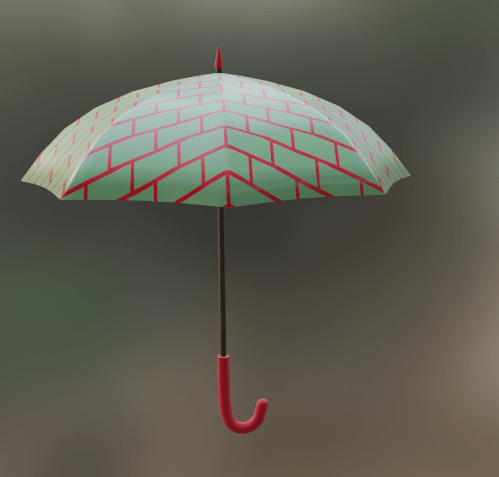
It was getting close to 3am so I decided to just go with solid colours and patterns for the Umbrella materials instead of making some proper textures.
It was really fun just plugging different auto generated textures (like noise, brick, checker etc) into a colour ramp and see the result.

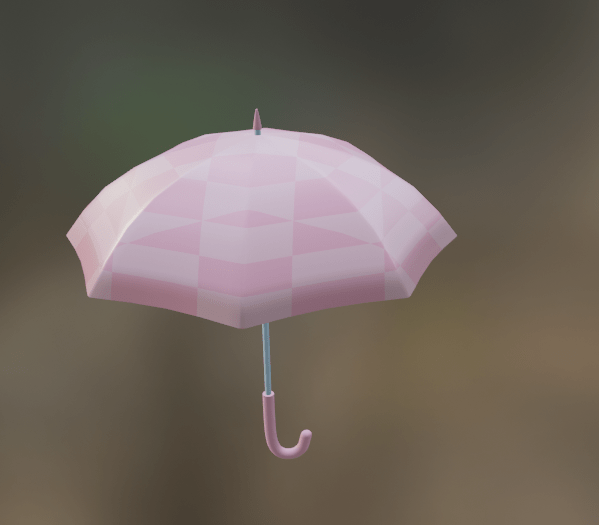
Some Variations


Then get this into Unreal I had to bake the the result down into a texture.
It’s really simple:
– Set your render to Cycles.
– Add a Image Texture node to your Material but make sure not to connect its output to anything. You can add your wanted UV Map as input.
– Set the image you want to bake into.
– Go to ‘Bake’ under your Render Settings.

Make sure you set your settings correctly, you want to avoid bake the lighting into your texture otherwise you will end up with a unexpected results, in my case darker than wanted and with shadows baked into it.
Depending on your case that might be useful, but not here 😄.
Per default the Bake Type was set to Combined and included Direct and Indirect Contributors.
I changed it to Diffuse and only have Color as contributor to our output.
Then you hit the ‘Bake’ button and off it goes (make sure to have your Image Texture Node selected in the Material Graph).
Once it is done you can use that Image Texture Node as Color input to your Material and see if it looks as expected (aka does not change at all).
Don’t forget to save your bake target image!
Unreal Engine
So the only thing left is to export the fbx and import it to Unreal, hook up the texture to the material where it is used – pretty sure there is a way to achieve this automatically, it might not have done it because I had the bake texture not connected to my material when exporting – but no biggie doing it manually.
Then I quickly threw a pose together using Control Rig for the character to hold the Umbrella and here we go!
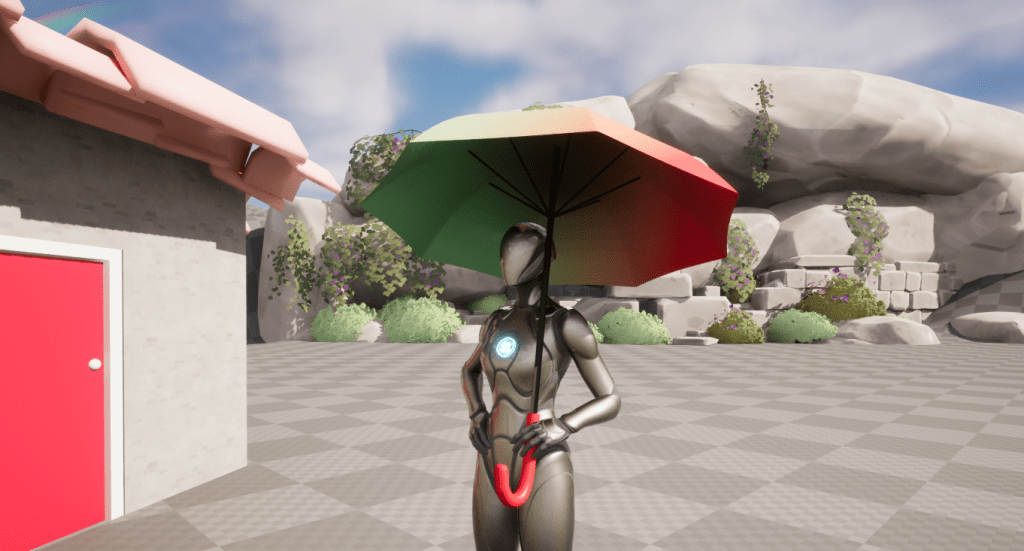
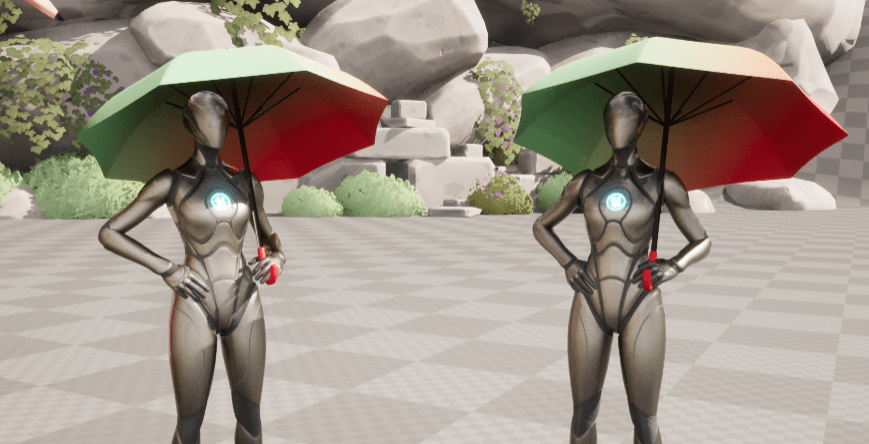
Whoops, the handle is a bit too long and thick as it turned out. So after some quick adjusting in Blender we got this and a new friend who came with the same Umbrella, how embarrassing!
In the future we might want to make an Umbrella that actually animates, but we get there when we get there.
For now, I will and enjoy the rain outside, celebrating not being cooked by a heatwave any longer. Bye!🌧🌧

Leave a comment. (Email and Name are not required to be filled in)