
One thing I always wanted to learn was modeling characters (and honestly, something I was properly stressing out about internally with this project).
I had tried it in the past, but not with much success, but instead a lot of clumpy and quite frankly horrifyingly looking models. Turns out brute forcing and just ‘doing it’ isn’t the most efficient way for learning a new skill 😉.
After gathering some references for the style I wanted to achieve for my characters, my lovely and supportive partner jumped into action and surprised me with a random present – the Make 3D Anime Characters in Blender Course on GameDev.tv.
I cannot recommend the course highly enough. With no character modeling knowledge and only a basic understanding of Blender, I managed to follow it easily. After every chapter, I was surprised by my own results and how I was able to create something that looked so professional with my own hands.
The instructor, Grant Abbitt, explains everything clearly and calmly, so even beginners like me can follow along without any problems. You are also encouraged to try things out yourself before he shows you how to do it, which is really helpful when you have to do things on your own later.
I learned a lot, and I still use what I learned every time I work on something in Blender – although figuring out where those damn poles go is still some sorcery to me 😂.
(No ad btw, I just really enjoyed the course and would recommend it to anyone wanting to get into character modeling).
But enough text, let’s look at some pretty pictures 😄
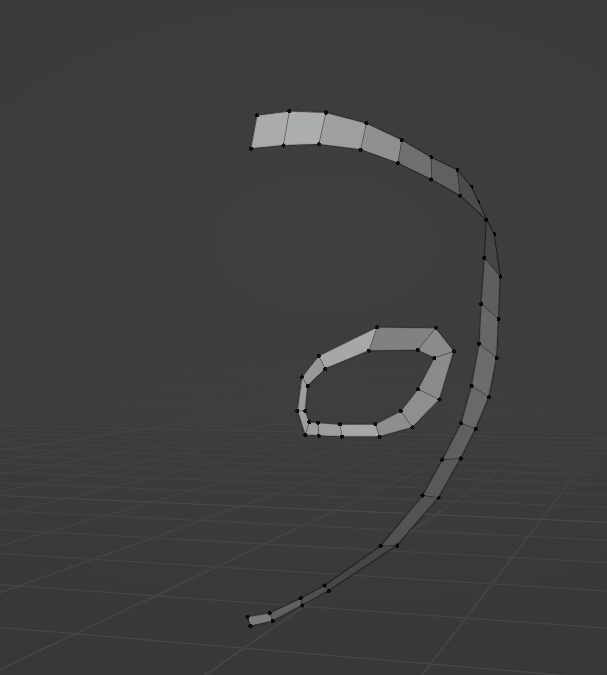
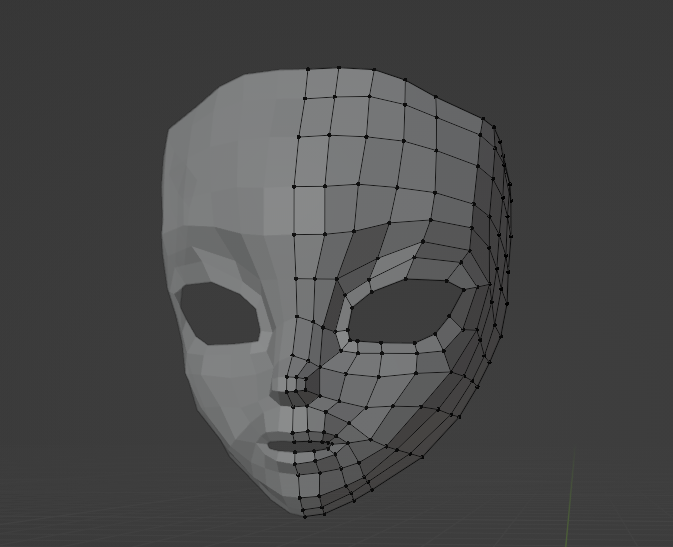
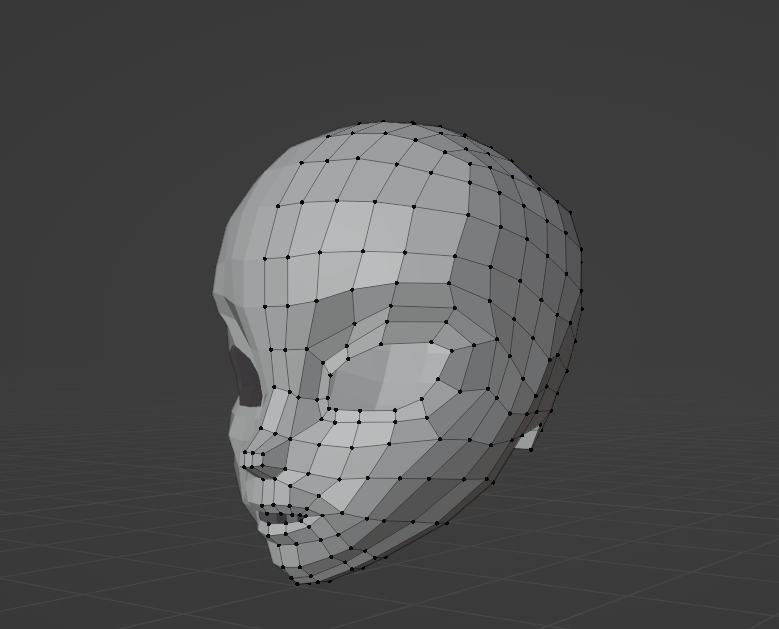
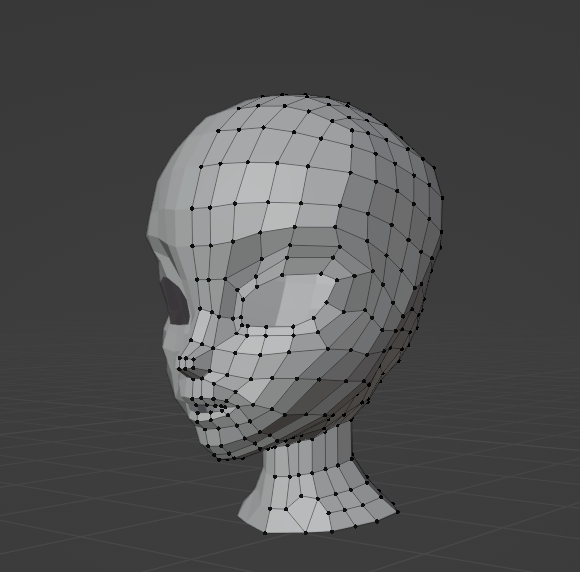
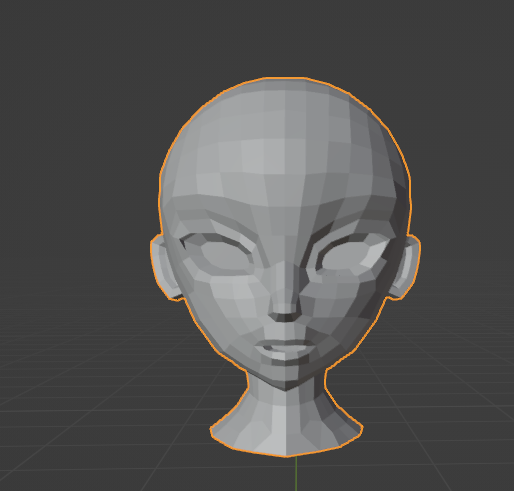
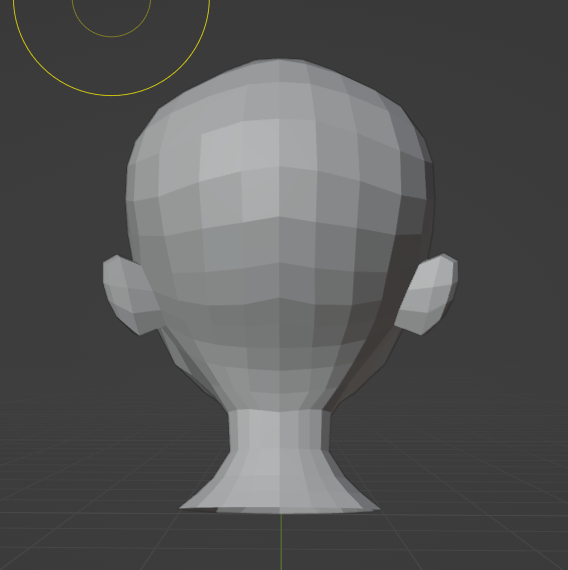
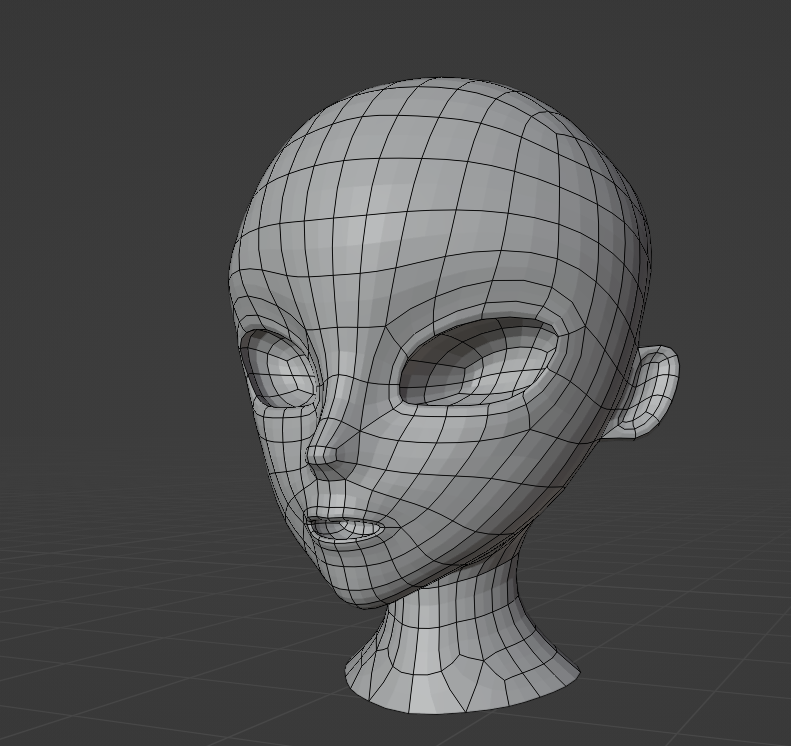
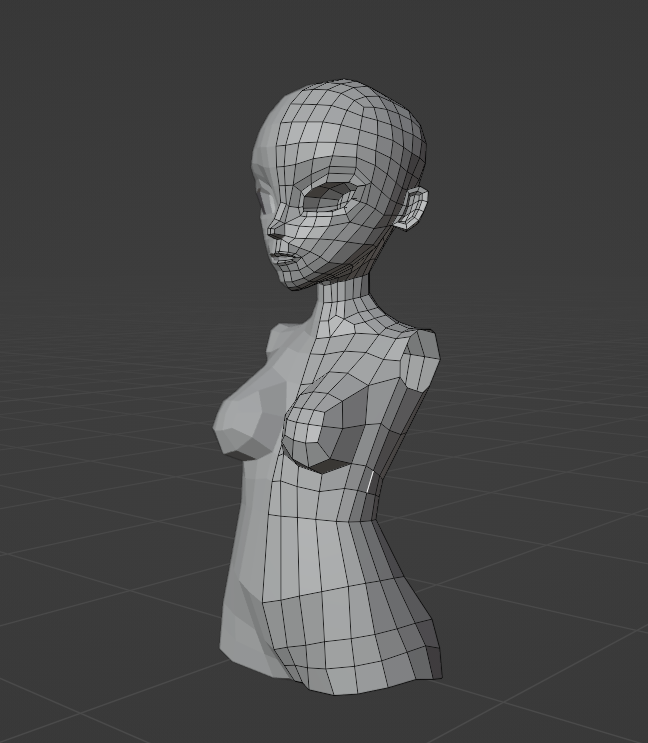
First, you start with the head. From very humble beginnings of your first face loops, over to a slightly creepy face mask situation, to suddenly a whole head!
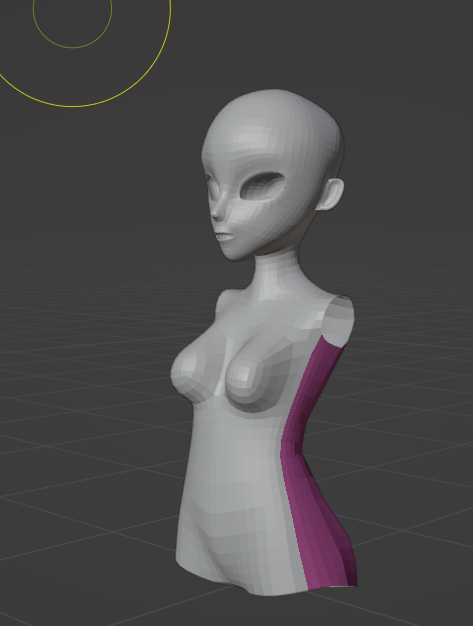
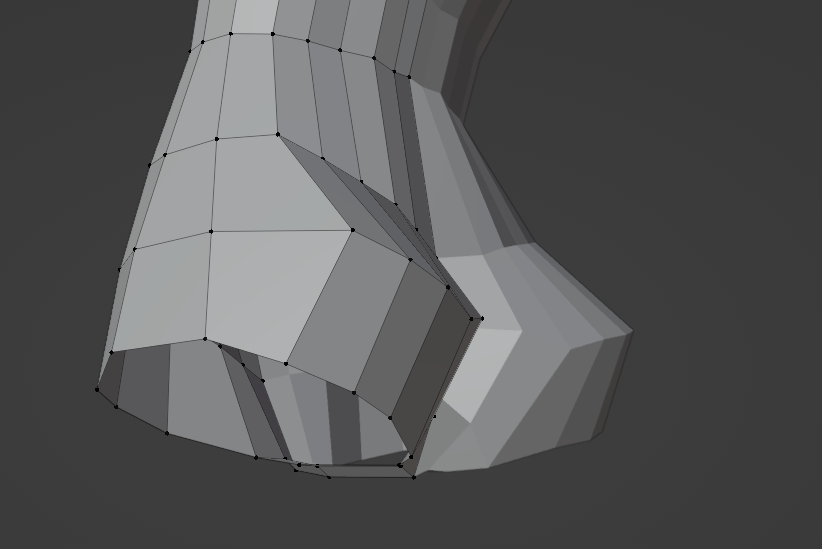
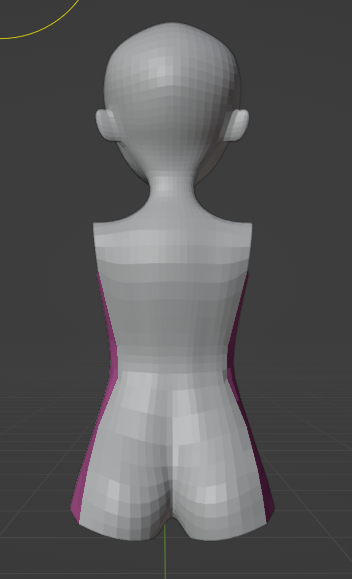
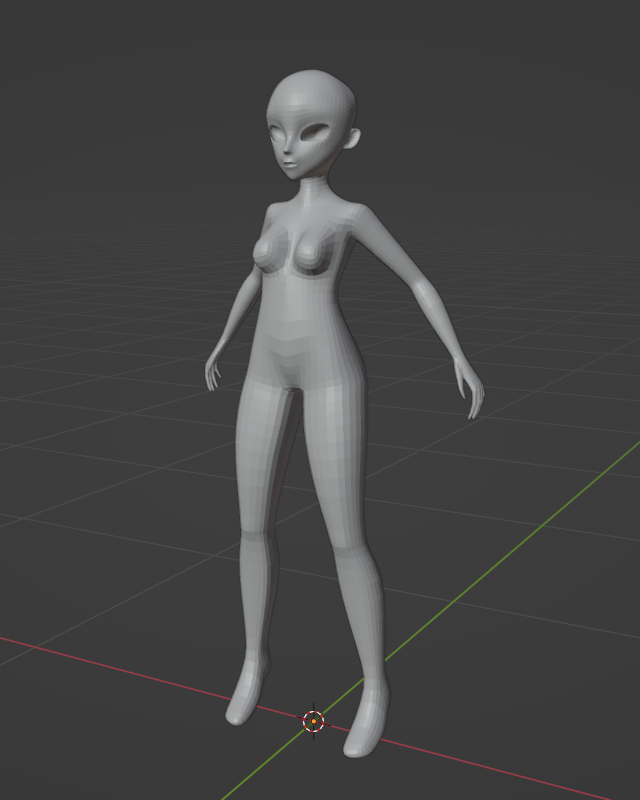
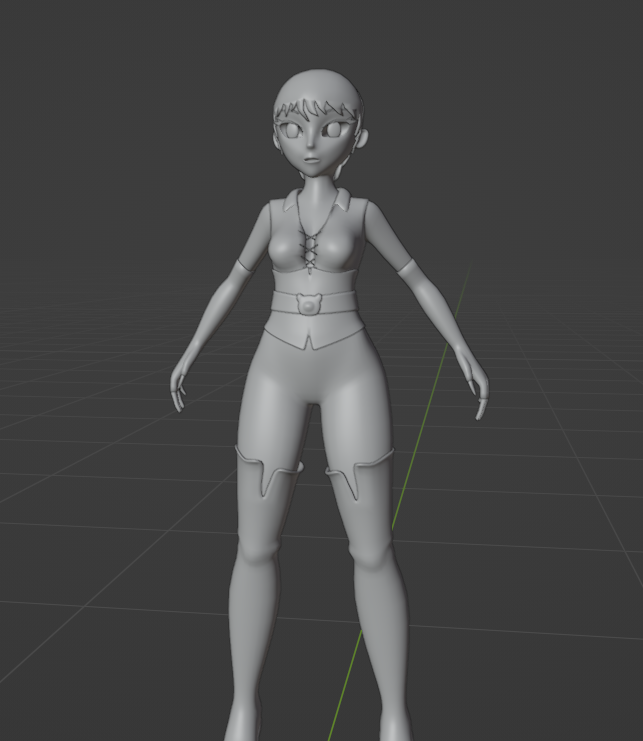
Then you carry on with the body – with some proper early Lara Croft vibes on that booty 😂.

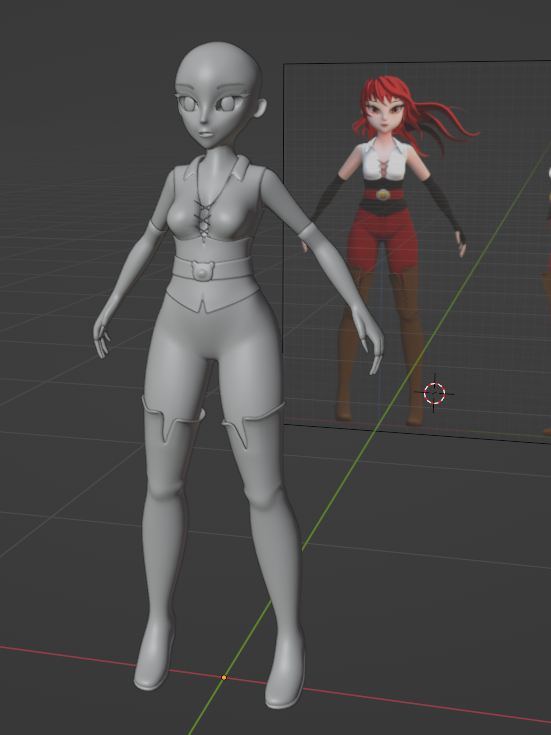
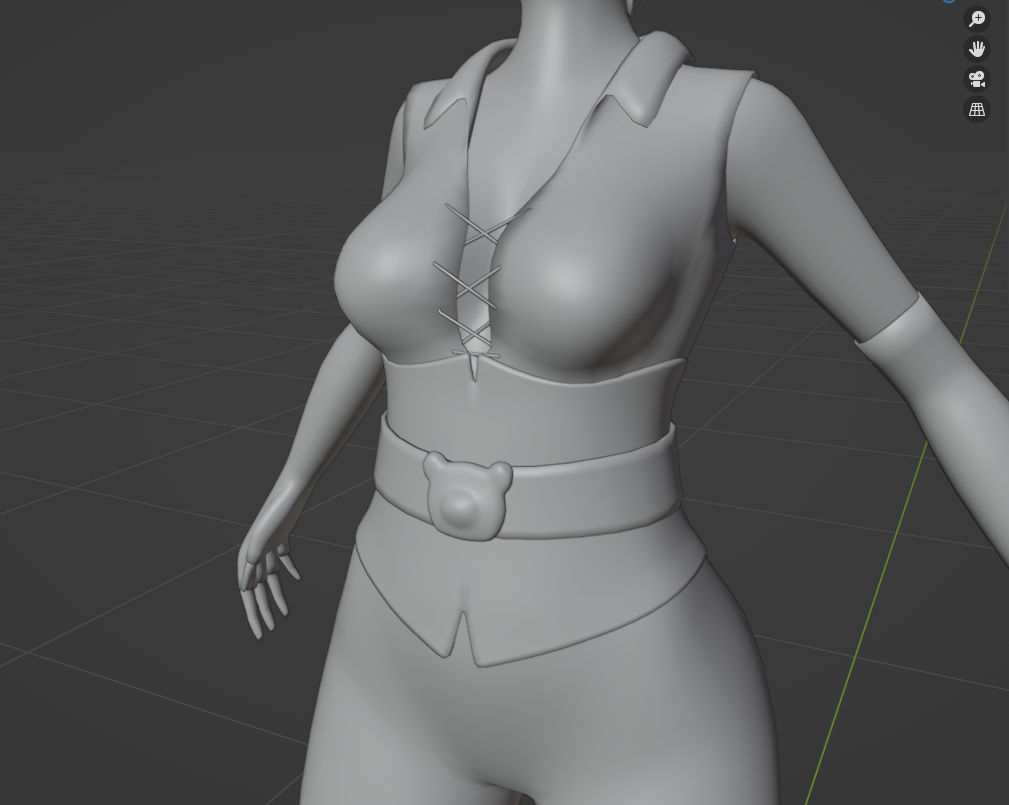
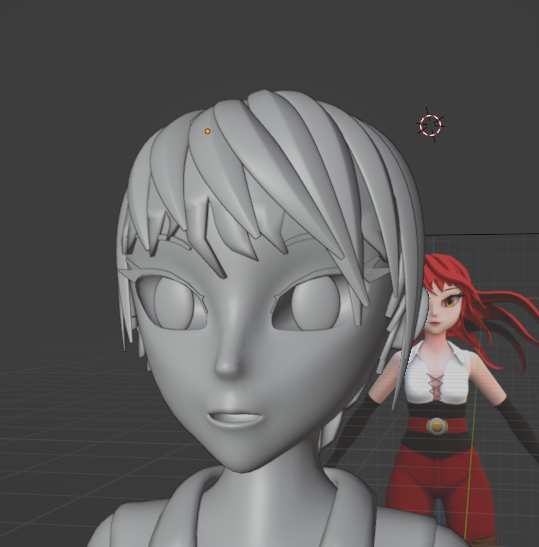
And then my favorite part, the clothing and hair! This was a proper throwback to those old girly dress-up games… and boy, I enjoyed this so much. My guilty pleasure is definitely showing! 😄
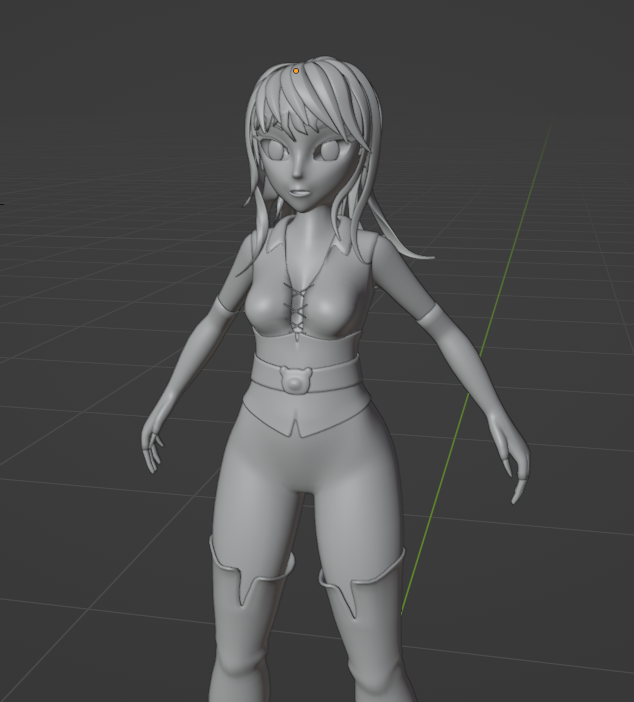
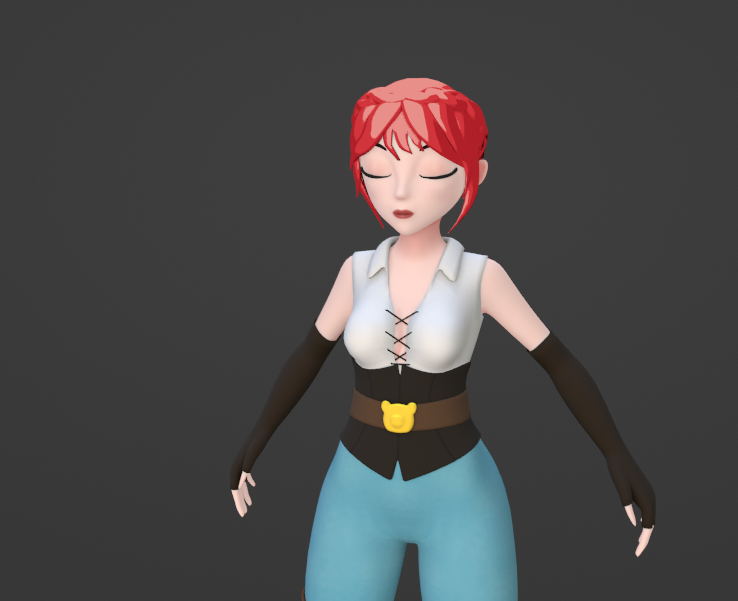
Then we shade the whole thing, with in this case hand painted textures.

Next and last steps in Blender are rigging, skinning, and posing. Working with animation code during the day, this step was super helpful in understanding the workflows of colleagues better.
I didn’t take a lot of screenshots during this phase, but the one I did take is one of my favorites – Mystique mode engaged!
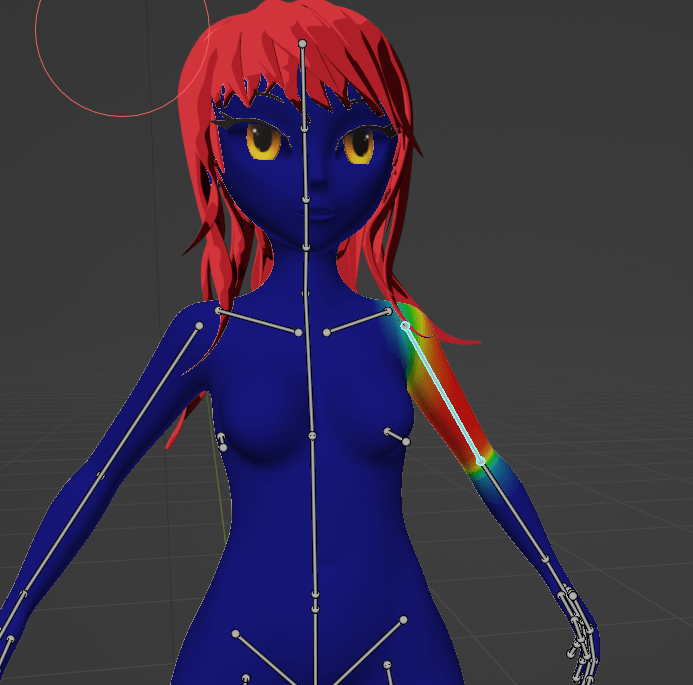
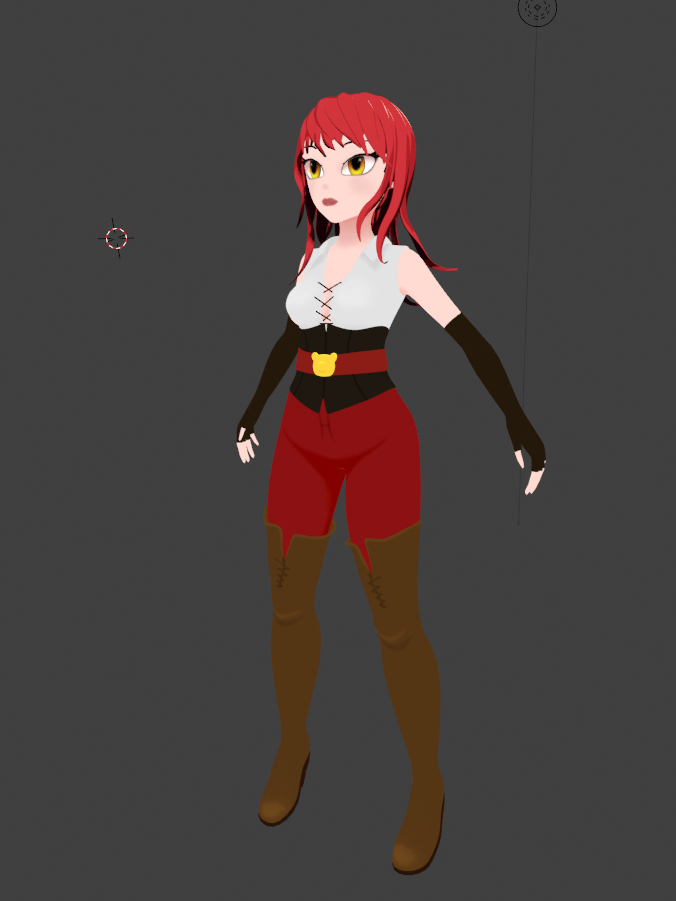
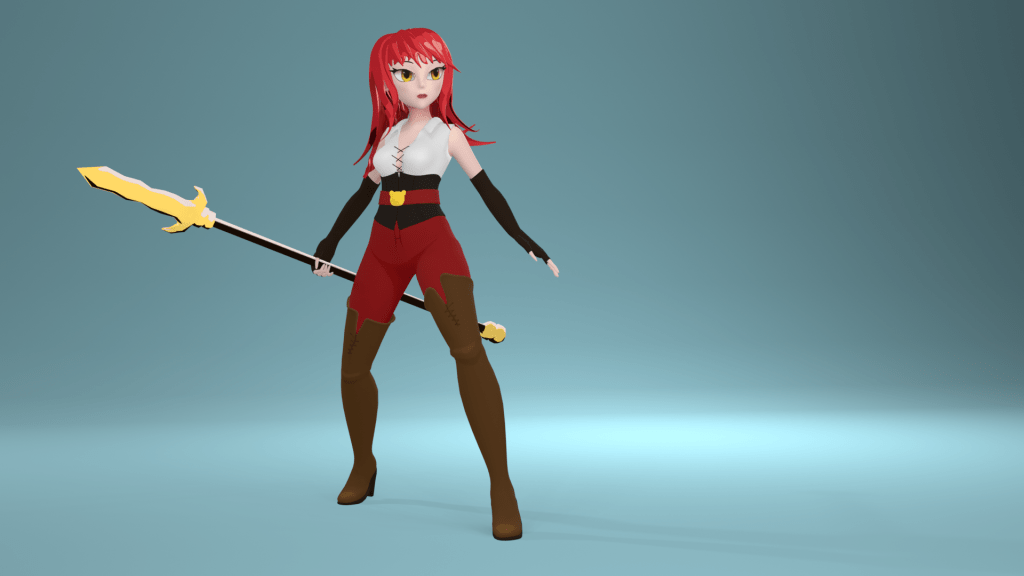
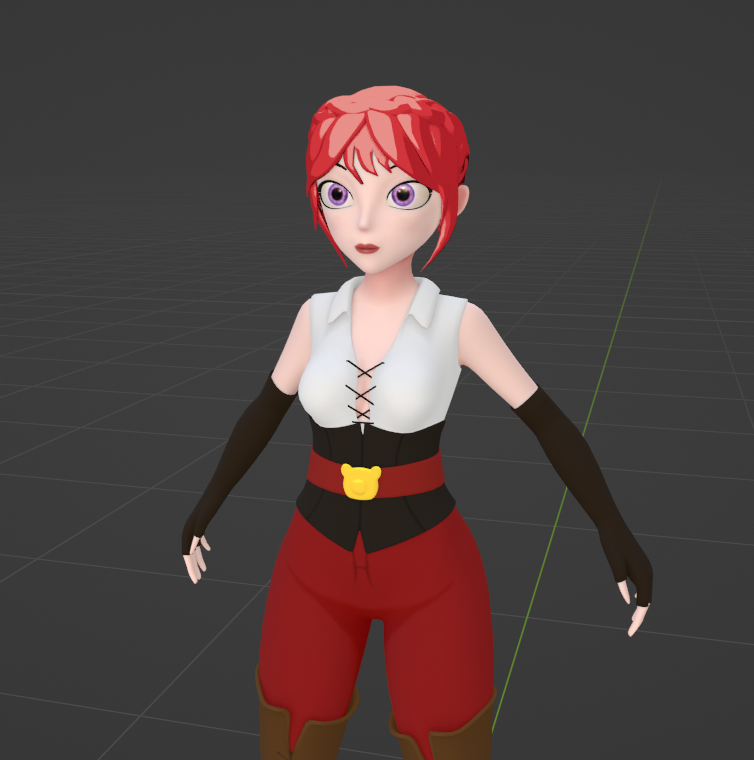
Then you use those lovely bones and freshly painted weights to pose your character, quickly whip up a weapon, and get on making your final render.
Tadaaa! 🎉
But then I actually decided I didn’t like the hair, and instead went with a braided updo instead (definitely didn’t have anything to do with me not wanting to tackle physics animating hair in Unreal right now 😉).
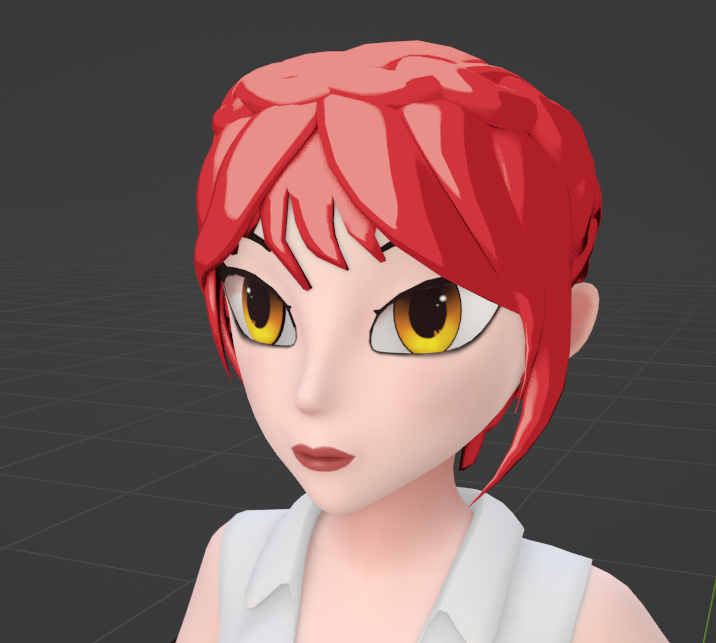
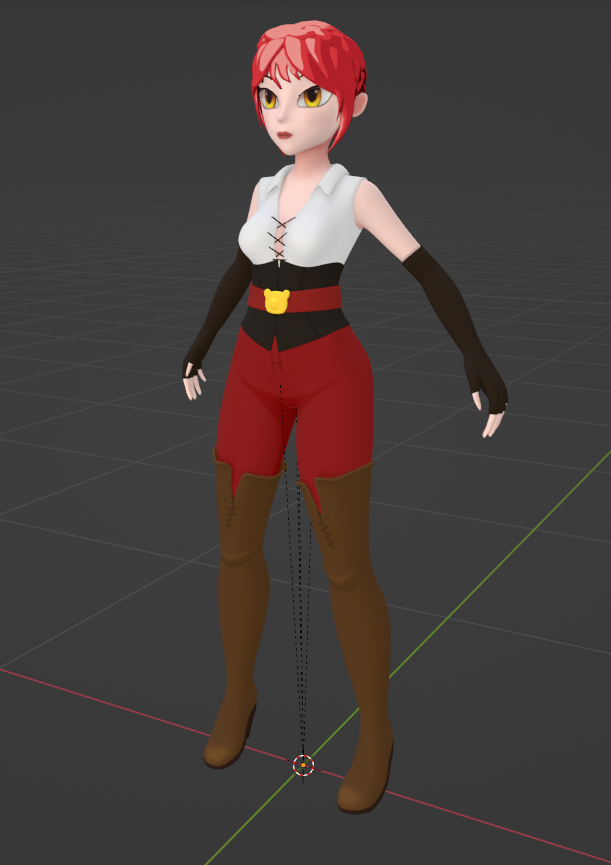
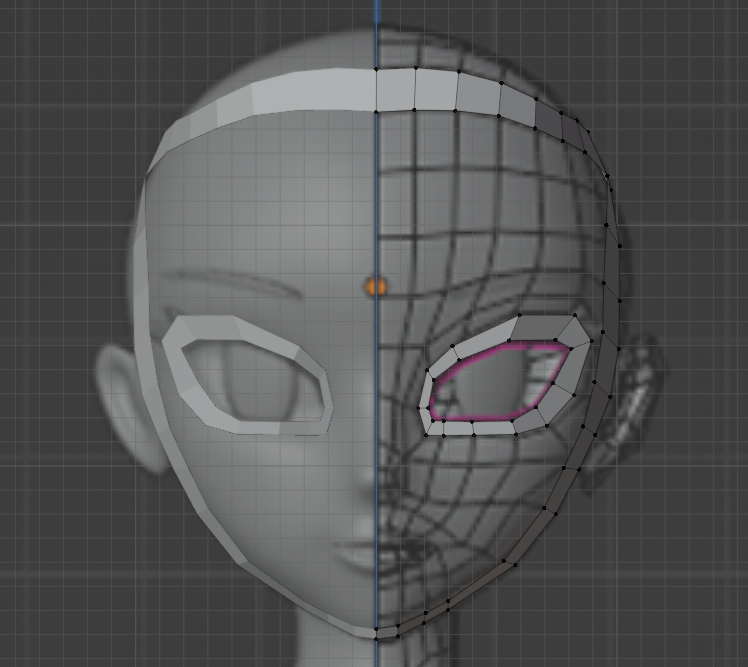
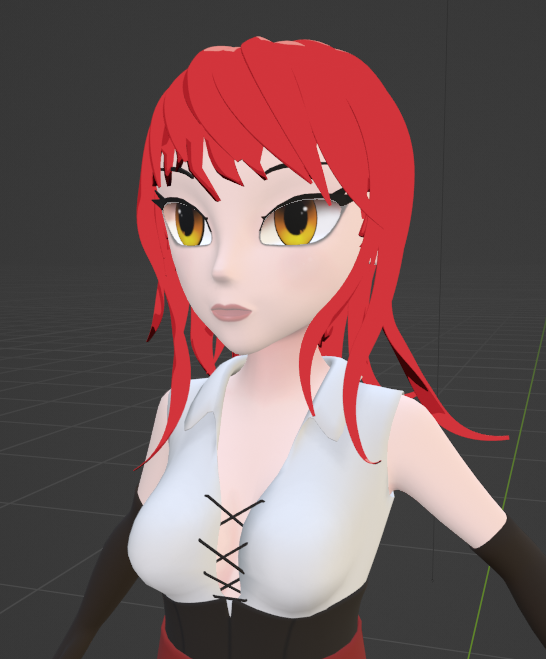
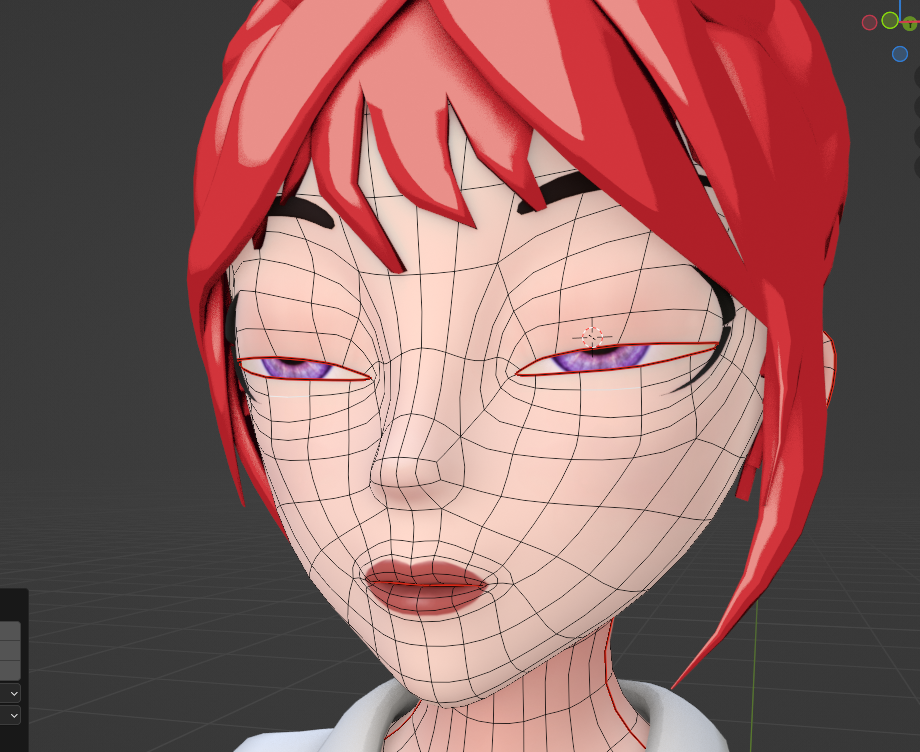
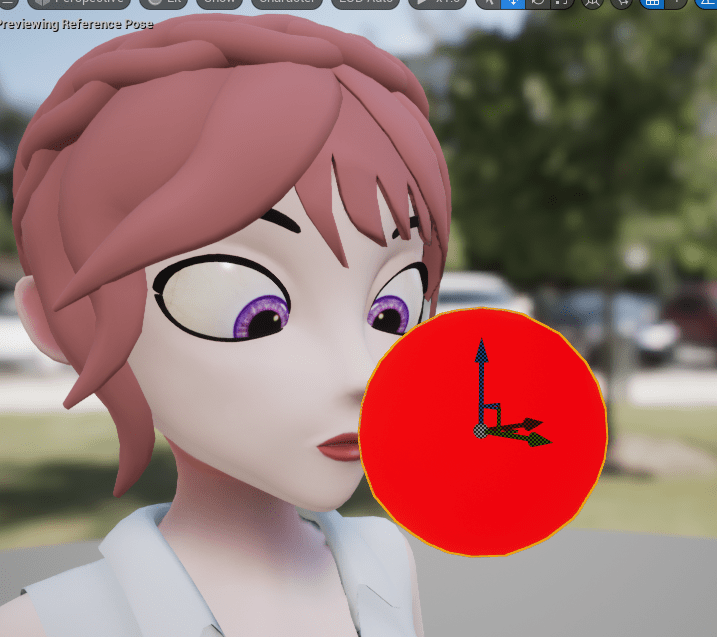
And then, as the last step of my changes to this very first prototype character, was to modify the eyes to be more along the lines of what I imagined for my characters, as well as making them actual eyeballs so I can animate them or drive procedurally via Control Rig in Unreal.
This included some work on changing the head shape to have enough space for those big eyes, adding geometry for eyelids, and making sure my eyelashes will move with the eyelids.
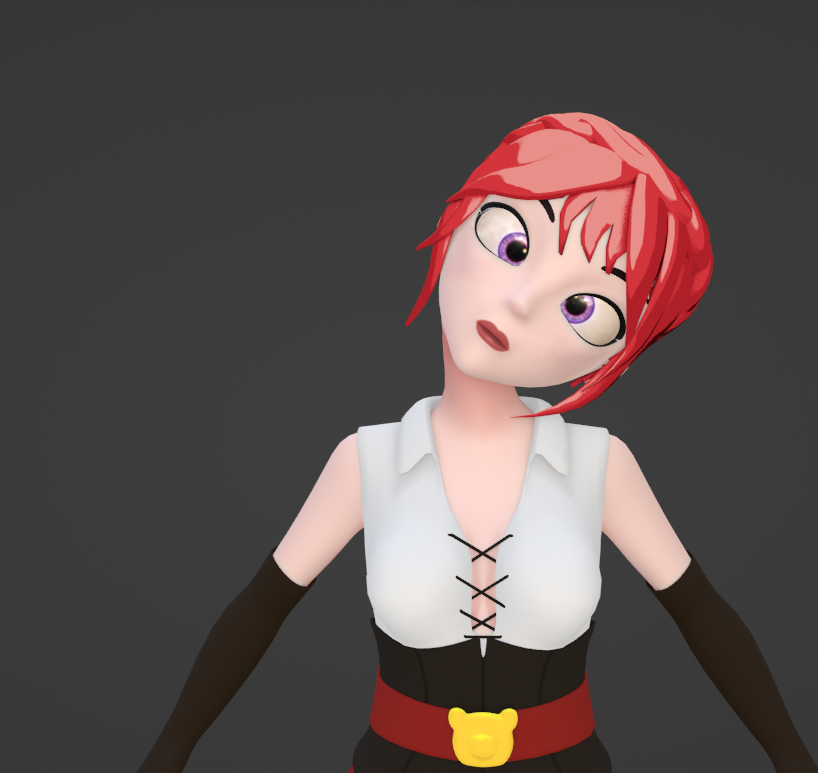
And now we can make her make silly faces in Unreal by driving the eye bones via some controls in Control Rig 😁.
Because I did not have time to make dedicated animations for this character yet, I invested some time figuring out how to best retarget Unreal’s Mannequin anims to it and use those in the meantime.
I might do a whole post about it and ways to do it 😄.

Alrighty, that’s enough for today, there is a whole game waiting to be made. Bye and have a lovely day 👋 .

Leave a reply to gavcostello Cancel reply